How Do I Bind Books with the SU PC246 PLUS Coil Binding Machine?
- participación
- Tiempo de Publicación
- 2017/9/19
How Do I Bind Books with the SUPU PC246 PLUS Coil Binding Machine?
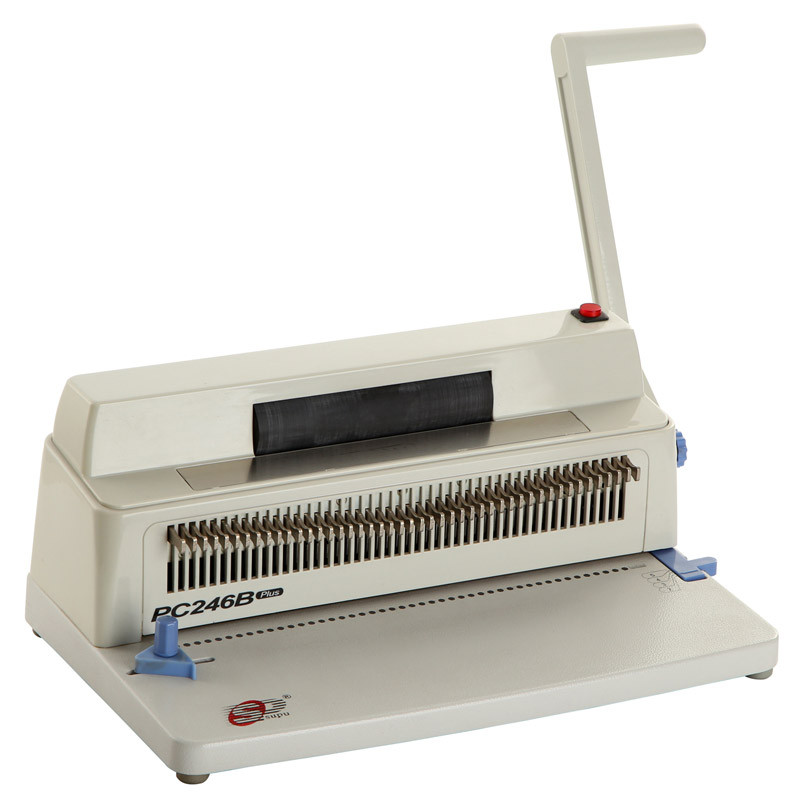
The SUPU PC246 PLUS Coil Binding Machine is a compact 4:1 pitch coil binder that makes quick work of creating professional-quality coil-bound books. With its built-in electric coil inserter, the PC246 PLUS allows you to electrically insert coils up to 7/8" in diameter and binds books up to 2" thick (with manual coil insertion). This model is compatible with all standard 4:1 pitch binding coils, including GBC Color Coils, Fellowes binding coils, and many more.
Below are step-by-step instructions for binding books with the SUPU PC246 PLUS coil binder:
1.Adjust the depth margin based on the total thickness of your document. As a general guideline, thicker books should have a greater punching depth than thinner ones to help make the finished books more durable. To adjust the depth margin, slide the bar located on the left side of the machine.
2.Position the side guide to match the paper size of your document. The side guide can be adjusted by loosening the thumb knob, sliding the guide as necessary, and tightening the knob to secure it in place. This will help to ensure that all of your pages are punched consistently and that the holes are centered on the page.
3.Insert up to 12 sheets of paper (based on 20 lb. paper) into the punching throat, aligning them against the rear of the punch and the side guide. Note: If you are punching thicker paper or binding covers, you will need to reduce the number of pages to prevent the punch from jamming.
4.Pull the handle forward to punch the pages, then return it to its starting position to lift the dies and complete the punching cycle.
5.Continue punching your document in sets of up to 12 sheets until all of the pages have been punched.
6.Insert a plastic binding coil into the first 4-5 holes of your document by hand, then lightly press the coil against the roller as it spins. The coil should be positioned toward the right of the roller and the punched holes should be to the left side.
7.Use a pair of manual coil cutting and crimping pliers to trim off the excess from the ends of the book and create crimped tips that will keep the pages in place.